Tuesday, August 3, 2010

"Back" in the Cottage


     It's been a busy summer this year and I haven't had much time to devote to woodworking. But I can't say that I'm really sorry about that. We've had a summer full of vacations, concerts, cookouts and just great times with my family. On a personal note, I've been working really hard to improve my physical fitness this year; I've dropped almost twenty pounds since January. Shawn and I ran our first half-marathon in seven years, I finished the Insanity workout program, I started mountain biking again after ten years and completed my very first Sprint Triathlon for my 38th birthday last Sunday on August 1st. I feel great. 
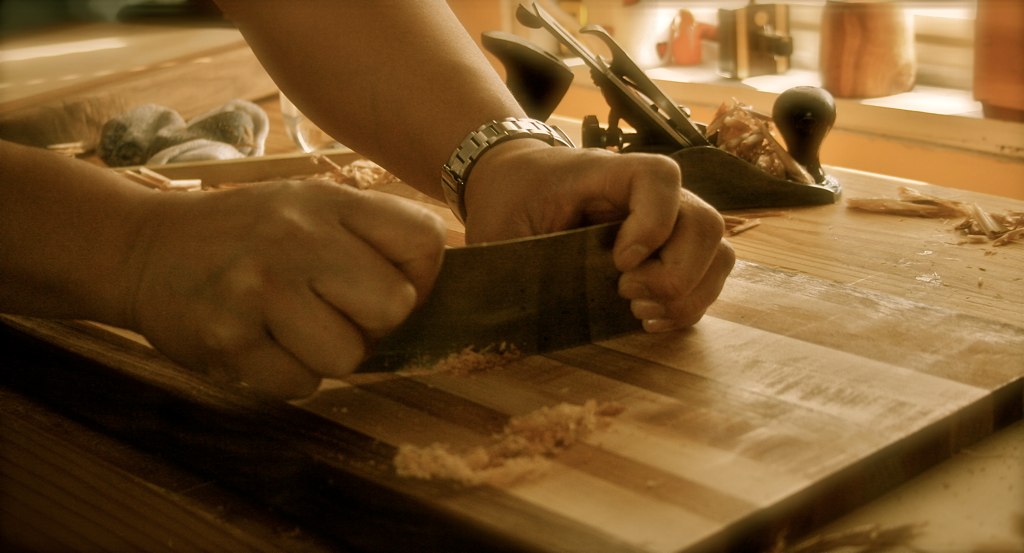
     During this time, however, the six-drawer dresser lay here in the cottage patiently awaiting attention. After reacquainting myself with the game plan and remembering which parts go where I took a deep breath and glued up the drawer supports and dividers. Not too bad. 
     Next up was the back. I decided to make a frame and panel back as opposed to shiplapped mostly because I thought it might be a bit quicker and would save a bit on the weight. The joinery for the back panel was just simple stub tenons into grooves cut for the panels.


     So now I've got what's looking more and more like a dresser. In the coming weeks I will be working on the base, the moulding, six dressers and some type of finish. I'm really looking forward to the moulding because I want to use a method discussed by Christian Becksvoort. It looks challenging so I hope I can pull it off.
     
-RM

Thursday, March 4, 2010

Sharpening Setup Jig


    I had a couple hours to work in the cottage so I thought I would spend it making an angle jig to make it easier to sharpen my blades nd chisels. No, I'm not very good with free-handing on the stones yet, but maybe someday I will be. I've been wanting to make one like this since I saw Angie Kopacek use one at a Lie-Nielsen show in Cincinnati a while back. I think it beats using a protractor-type angle finder because it seems faster and easier to set the same angle on your honing guide every time.
     So here's how I made mine:
I found some decent particle board shelving with a laminate veneer in the trash pile. Then I cut a few pieces of maple for the angle stops.

I set the distance of each one I put a blade in the honing jig and set it for the angle using my angle finder. This is how I normally set blades up for sharpening.


After I tighten the blade in the jig, I set it on the board with the jig against the edge and a maple block against the edge of the blade.


I could have nailed or screw down the stop blocks at this point but it probably would have moved on me so I just held them there while I put on some "crazy glue" around the edges. After this sets up I'll be able to put-in some nails  without anything moving around.


I settled on just a few angles for now. I figure 25, 30 and 38 degree stops should be a good place to start. The important one for me was the 38 degree stop. I've been needing to put a steeper angle on the smoothing blade for my low-angle jack
to help out with the wild grain in all this walnut. I did intend on making a 35 degree stop but it semed too close to 38 degrees to make much difference.


     Well, it's nice to finish something finally. Hopefully this will help to keep the blades sharp. I am planning on purchasing another bench stone soon and I think I have decided on the Spyderco brand of stones. So far I'm sold on the notion of not having to flatten as often (supposedly if hardly ever), not having to soak them and only having to use vey little water. If I can get one I'll be sure to post about it. 

-RM

Monday, March 1, 2010

Wonderful video...

    I got the link to this video from a Twitter "tweet" by Mark Spagnuolo, aka the Wood Whisperer. I really loved it and wanted to share it with you. I can already smell the fresh-sawn pine in the barn on a sunny summer afternoon. Enjoy!


-RM

Back in the Cottage!

Forgive me blog readers, for I have lapsed. It's been... ahem... two months since my last post.


    January and February run a bit busy around here but I found a way to get back in the workshop last weekend for the first time in a couple months. I was cleaning up the house and getting ready for my son's  ninth birthday party when I realized the cutting boards needed to be resurfaced. "What a shame",  I thought, "to have a nice, clean house but such shabby cutting boards". Actually, I thought it was an excuse to take a break. 
     After clearing all the dust and cutoffs from the top of the bench I secured the planing stop to my right and placed a cutting board up to it to allow me to plane across the grain. When I made these cutting boards a year or so ago I didn't pay much attention to the direction of the grain. This wasn't too much of a concern at the time because I finished them with a random orbital sander, although I did get a little tear-out with the electric planer. This of course plays hell with the hand planes.
     If you're concerned about tear-out when hand planing wood it really helps to apply alcohol or, with cutting boards, mineral oil. Besides, it's good for the hands. And I'd imagine it helps to keep the planes from rusting. But probably the most helpful with preventing tear-out today was using a hand planing  method called traversing. This is when you plane at a right angle to the grain of the wood. 


     Using my no. 3 (Stanley with Hock irons), I traversed the walnut, cherry and maple laminations resulting in a much improved surface and showing a very slight scallop, compliments of a cambered plane blade. I also made some diagonal passes. I did try to plane in the direction of the grain for some finishing passes but that only resulted in more tear-out. So, more traversing.


    While traversing results in a much better surface than one with a lot of tear-out I wanted to even things out a bit more. So, I pulled out my cabinet scraper and made a few passes. 


     After the scraping I took the boards back into the house and slathered-on the mineral oil. Just like new. Try that with a plastic or glass cutting board! 
     The birthday party went well. And even though none of the cutting boards were used, or even seen for that matter, I'm convinced it was time well wasted.

-RM