Attaching the moulding to the top of the dresser was something I've been looking forward to doing since I started. I knew that because of seasonal movement I would need to use a method other than just glueing all the pieces around the front and sides.
The first method I learned was to glue the front few inches and then brad-nail the rest. Norm Abrams did this a lot in the New Yankee Workshop. I probably would have been fine with this until I read an article by Christian Becksvoort from Fine Woodworking's Woodworking Techniques. This looked like a very strong but elegant way to attach moulding to the side of my dresser. It also looked like it would be quite a challenge for me to accomplish.
After finishing the moulding I felt that it was a little easier than I had predicted. Maybe I got lucky. I did take pictures of how I did it so I can share it with whoever is interested.
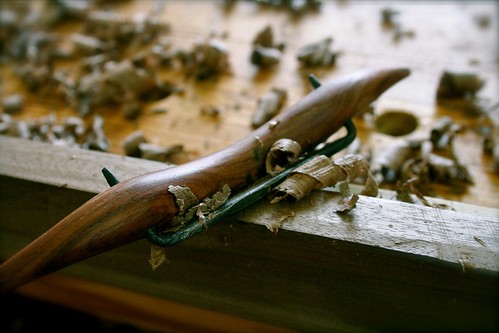
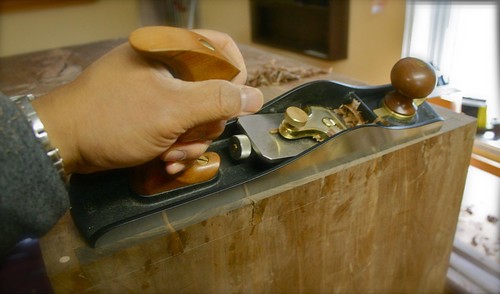
First, I figured it would help to make sure the sides were pretty flat and square. I did as well as I could with my low angle jack, checking with my try square often.
The front moulding was cake. Cut the miters and glue it to the front.
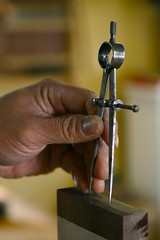
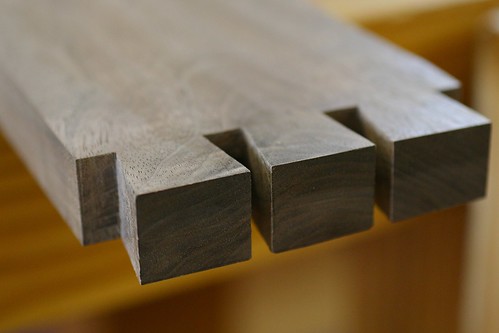
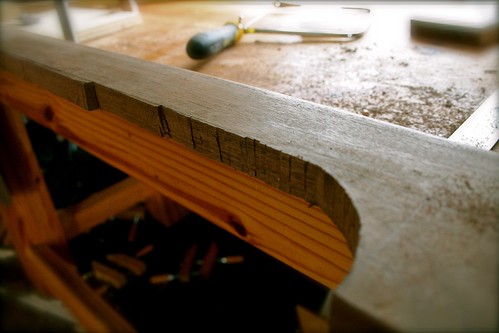
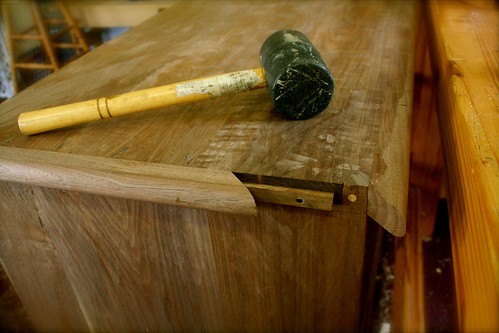
This was the difficult part. I cut a groove in the moulding with the table saw in two passes. It ended up being about 1/4" wide and 3/8" deep. I did the rest with a dovetail bit in the router table. To make the key I cut a piece of scrap the same width of the widest part of the dovetail. I don't work with calipers so I just got it as close as I could. Just make sure it's not too skinny. I ran that piece through the router table with the dovetail bit set at the same height on each side a little at a time until I could get a snug fit inside the length of moulding. I rubbed-on some paraffin wax to make it easier to slide on. While it was inside the moulding, I planed it flush with a block plane to make sure it wasn't too thick which would result in a gap between the moulding and the case side.

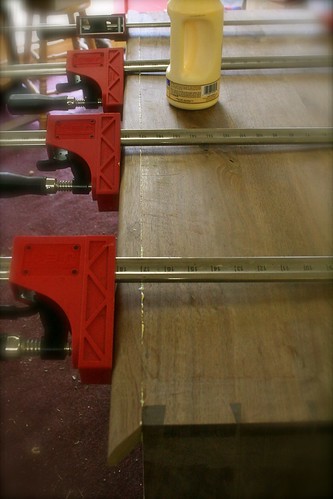
I cut the miter on the side moulding, checked the fit and adjusted it with my jack plane and shooting board. I slid the dovetail key inside and placed the assembly flush with the case top and held it there with a clamp, leaving enough of the key sticking out to secure to the case.

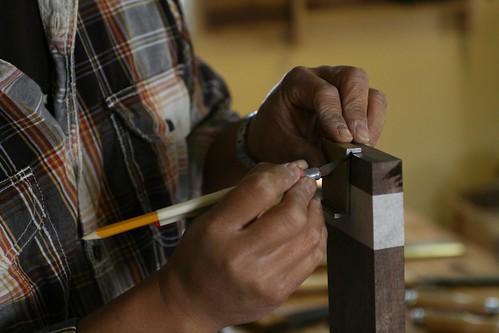
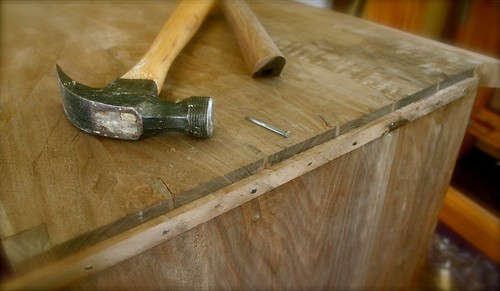
Becksvoort uses wood screws to attach the keys to the case. I used cut nails because I've been wanting to use them for a while now and I just didn't have the right screws. Cut nails have amazing holding power and so I thought they should work just fine. Two important things to keep in mind when using cut nails are to predrill and orient the nail so that the flat of the nail runs parallel to the grain of the wood. Skipping either and you risk
splitting your work.
After nailing each section I released the clamp and slid the moulding back and made sure it was flush with the top again. I did this until I had the entire key attached to the case.
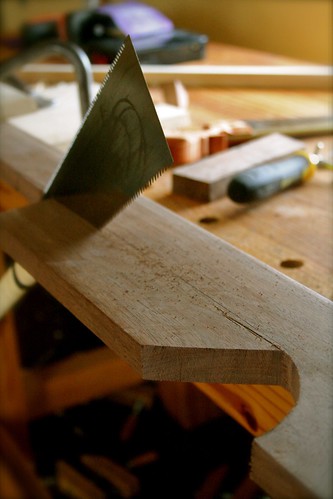
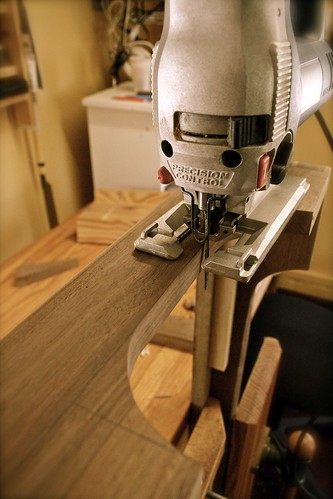
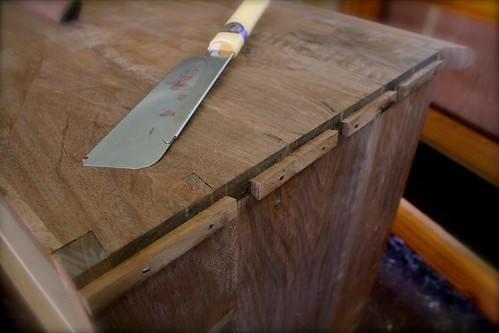
I used a pull saw to divide the key into sections. These should float underneath the moulding as the case moves with changes in humidity. In hindsight, I should have placed the nails a bit closer in each section to allow more movement but time will tell.
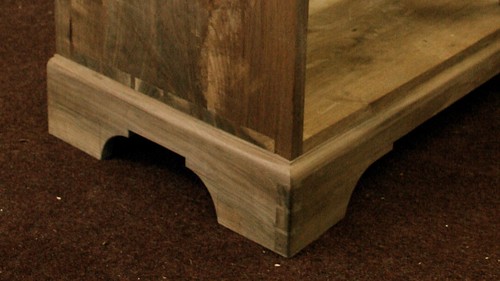
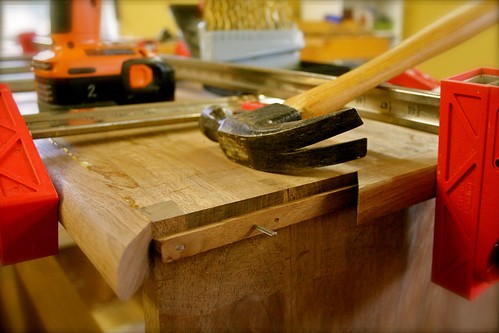
With a tight fit (thankfully) I tapped the moulding on with a mallet.
I stopped a few inches short to apply glue to the miter and case side.
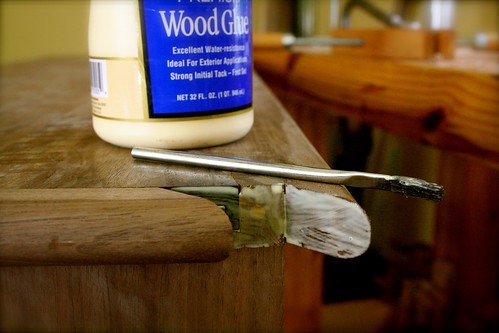
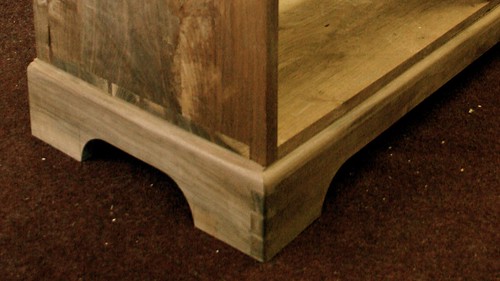
Carefully, I drove it home, tapping just enough to close the miter and squeeze out glue. Tapping too much would separate the moulding from the front of the case.
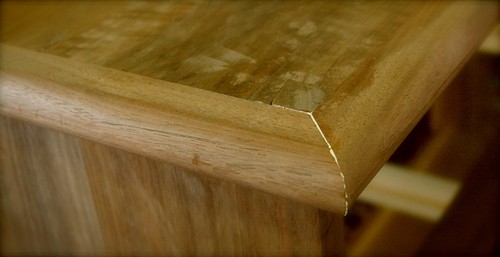
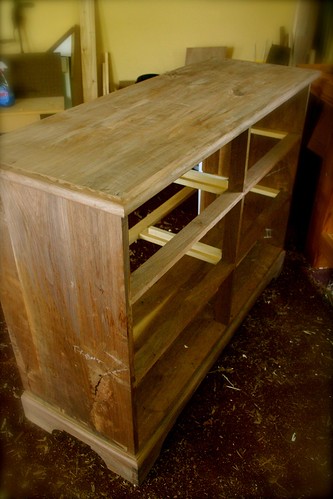
Construction of the case is now complete. Now I can concentrate on finding walnut boards for the drawer fronts, deciding what to use for the drawer sides and bottoms, and how to put it all together. Right now I'm pretty set on traditional construction: solid wood panel bottoms and half-blind dovetailed drawer fronts. Hopefully, I can have progress to post on in the coming weeks.
-RM