
I am neither a master woodworker, writer or comedian. I am just sharing what little experience I have along with some nice pictures and a few links. Read on and if you find this information useful or just plain humorous then good, I've added something to your day. Leave a comment and feel free to criticize or teach me something new. I would appreciate that.
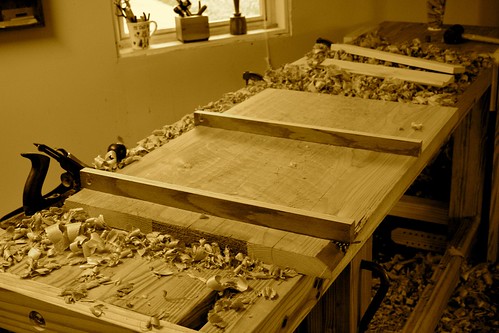
I'm still working on the storage chest project. Just a little at a time as always. I've glued up the boards for the lid and, of course, it was a bit (a lot) out of flat. As usual it seems some of the boards had shifted here and there during glue-up resulting in a curved surface across the width. At this point it is too wide to remedy this with m 13" planer and my Harbor Freight belt sander died long ago. Fortunately, I have hand planes.
I believe this is the largest panel so far I have attempted to flatten by hand. I've read about doing it and even observed a great demo by Deneb Puchalski at the Lie-Nielsen hand tool event in Cinci'. But, like many woodworking skills, you can read about them and think you understand, or you can make yourself do it for real and realize that it's gonna take a lot of work and practice (and sweat and frustration) to truly get there.
To flatten this panel I used a straightedge (a piece of plywood which later became my winding sticks after I ripped it in half), a marking gauge, my LN low-angle jack, and a no 5 Stanley plane set up as a scrub. A scrub plane is used to hog off a large amount of stock quickly across the face or edge to begin the flattening process. My no 5 has a large mouth opening and a blade with a pronounced camber on it, although not as pronounced as actual scrub planes as I've recently learned. It's probably more of a fore plane which, according to the Schwarz, is the British version of the scrub but with a gentler camber. Fine tool suppliers such as Lie-Nielsen and Veritas offer scrub planes which have a blade camber of a 3" radius. Just another tool to add to the list right along with the LN low angle jointer I don't have. Until then, I will use what I have.

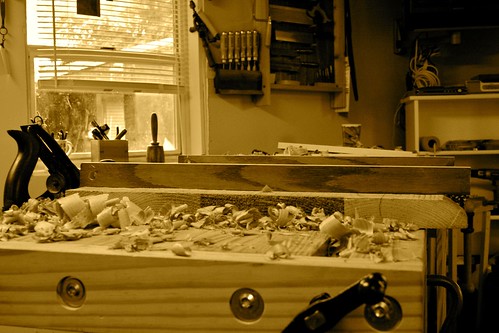
My first step was to take a straight edge to the panel to see the "lay of the land". Yup, like a banana. I chose to start on the "hill" side of the panel first. To me, using a scrub was like carving. I'm used to sending a piece of wood through the planer. Set it and forget it. With a plane set to take very coarse cut I had to be aware of where my goal was. I would take traverse cuts (right angles to the grain) and then diagonal cuts. If an area seemed higher I would hit those again. Don't expect fine shavings here. At this point you're getting chunks, and that's what you want. Using a plane in this way is actually a lot of fun in a powerful and destructive kind of way, especially in redwood.

After I getting the the surface reasonably flat (to my abilities), I moved on to my jack plane set for a finer cut. I used my fancy winding sticks (also called winking sticks) to check for twists along different areas. For that I took my plywood straight edge into the barn and ripped it in half. In this picture you can see the texture left behind by the scrub.
You can check for twists by looking down the length of the board over one winding stick and toward another. If the tops line up then it's flat. A twist would show if the tops of the sticks aren't parallel.
After I decided to ignore any problems, I finished up with the jack plane. Not too difficult as long as I didn't get too crazy. I tried to work the surface as evenly as I could, checking with a straight edge and winding sticks after each pass. I think that was the key for me at least. Plane and check, plane and check.
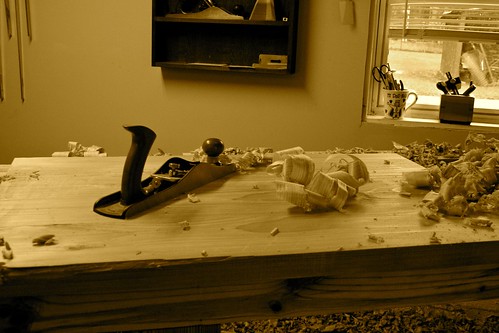
After I was happy with the flatness I had and the sweat I made I marked the thickness around the edge that I wanted with a marking gauge. I thought it was hard to see the small line of the marking gauge so I went over it with a pencil. I flipped the whole thing over and went to town on the other side in the same fashion. Coarse, medium and fine. I think I've heard that somewhere before.
Sure, I see light under that straight edge, too. That's okay for at least two reasons. One, I'm still pretty new to this. And two, it ain't gonna get any better than that. At least not today.
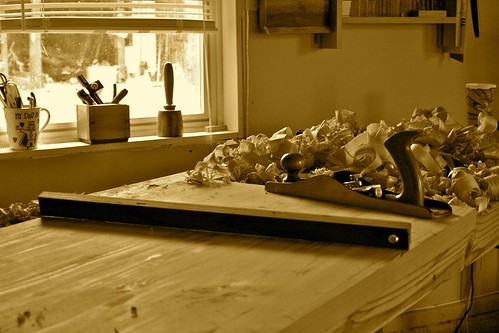
After a couple hours (I thought it would take three), here is what I have produced. A room full of shavings and a top for my storage chest.

Now on to the hinges and finishing. I'm undecided on whether I should paint it or stain it. I intend on leaving it outside for storing sports balls, toys, etc. What do you think?
- Richard Magbanua
1 comment:
I think you have been doing a nice work so keep it up! I think that everything has a specific place to be, so that is up to the person who is going to use built stuff
Post a Comment